
After having success with the biscuits I made I started to get more inspired and decided to bake another recipe. This time I was making scones. Not just any scones though, I decided on making Blackberry-Lemon Scones. This recipe is a variation off of the one I found in my Baking Illustrated cookbook.
I have to say that these scones were absolutely delicious with a bit of raspberry jam. I am the type that likes to put jam on my scones so these were perfect, although they are also nice without anything at all I must say. These lie firmly between the two types of scones out there, English-style which as less sweet so that they can have jams spread on them and American-style which are sweeter and more meant to be eaten plain.
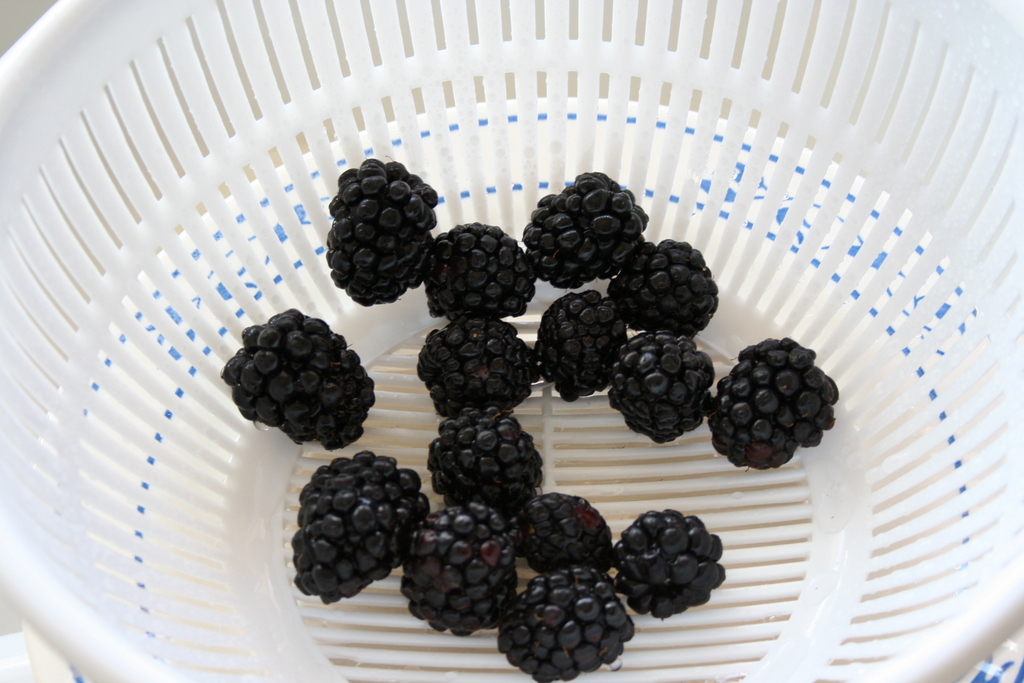
I happened to have some blackberries in the fridge from our local produce store. As a bit of an off note, I have to praise out produce store. They only stock the fruit the major chains won't buy and so they get great prices and a lot of the fruit is quite ripe when it arrives and so it tastes much better. It is also literally about 100 feet from our house if you want to hop a fence and so it is incredibly convenient to swing by there and check out what looks good. I wish there were more stores like it.
Here are my lovely blackberries, as you can see you don't really need many to make the recipe.
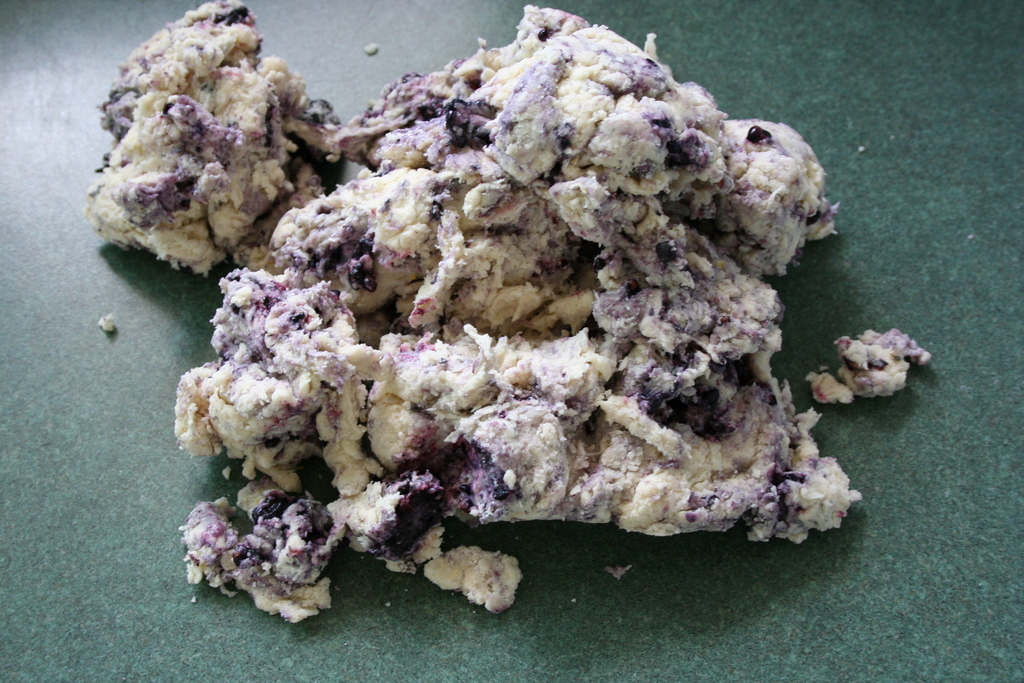
The dough came together nicely in the food processor and because you use it to add the blackberries to the dry ingredients the berries don't bleed too badly into the dough. This recipe is a fair bit harder if you do not have a food processor, but I can attest from experience that it can be done with a pastry blender (I recommend you pick up the more solid type with blades as opposed to the wiry kind that don't cut as well), or two knives. I don't recommend using your hands because of the berries.
Scones are one of my favorites because they are so quick, simple, and delicious. They also tend to impress because of the terrible scones we get here in North America. I think we all have had one of those bland, floury, dry scones.
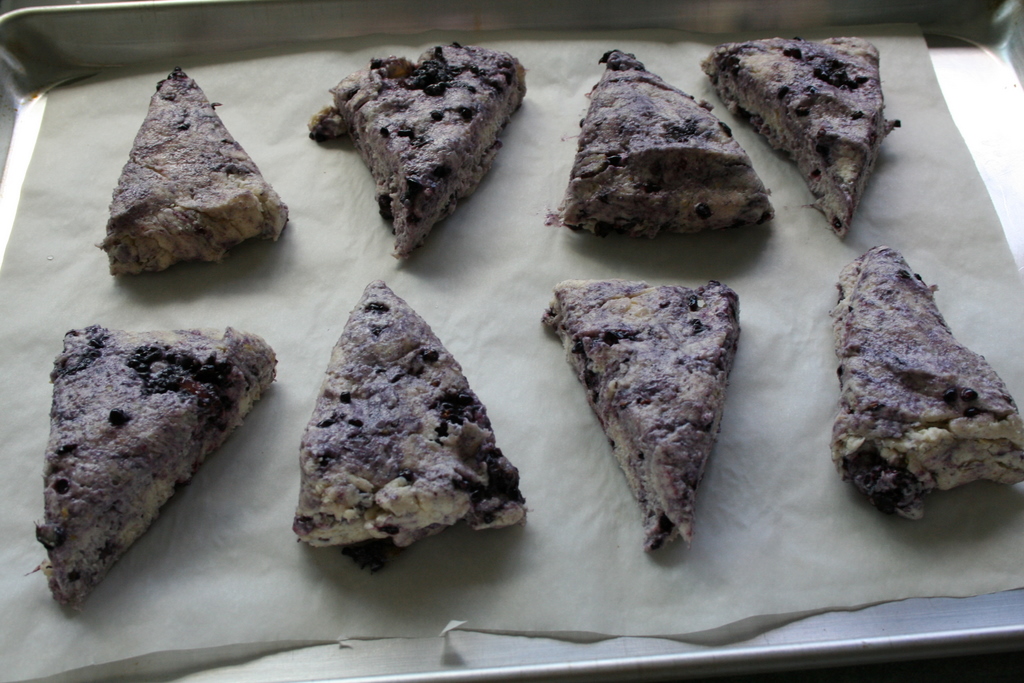
And here is the finished product. Remember to let the scones cool a little (10 minutes) before eating them so that they have a chance to firm up. I am planning to submit this picture to the food blogging sites in an attempt to get some notice for my blog, so here is hoping.
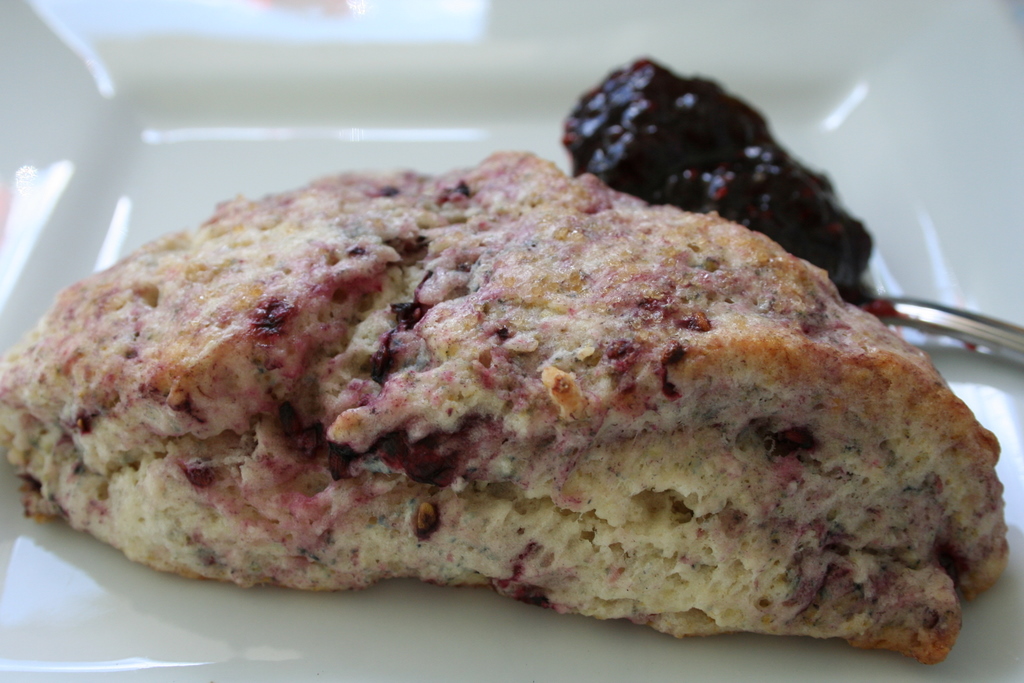
And this is the plate only moments later.
Before I post the recipe I just wanted to add one last note in here and simply it is that I love to give advice on cooking and baking. I may not be a traditionally trained chef or baker, but I have taken many courses from some excellent teachers and I greedily read a lot of material related to cooking and baking to expand my understanding of how it all comes together. I also will admit if I don't know the answer to something and if you can stump me, all the better, because it will mean I will scour every book and website I can find to discover the answer for both of us.
Blackberry-Lemon Scones
2 cups (10 oz) unbleached all-purpose flour
1 tbsp baking powder
3 tbsp sugar
1/2 tsp salt
5 tbsp (2.5 oz) cold unsalted butter, cut into 1/4 inch cubes
1 tsp lemon zest
1/2 cup blackberries
1 cup whipping cream, plus 1 tbsp for brushing the scones
1. Adjust the oven rack to the middle position and heat the oven to 425 degrees.
2. Place the flour, baking powder, sugar, and salt in the work-bowl of a food processor fitted with the metal blade. Process for six 1-second pulses until mixed.
3. Distribute the butter over the dry ingredients and pulse for twelve 1-second pulses. You can also use your hands, two knives, or a pastry blender to cut the butter into the dry ingredients. The finished product should look look like course cornmeal. Add the blackberries and pulse for three 1-second pulses or until the blackberry pieces are the size of large blueberries.
4. Stir in the cream and mix with a spatula for 20-30 seconds and the dough begins to form.
5. Transfer the dough and any remaining dry bits to a counter top and knead for 5 to 10 seconds, until the dough comes together. The dough should be a little sticky still. Press the dough into an 8 inch round (you can do this in a cake pan and then turn it out if you like) and cut into 8 wedge with a sharp knive or dough scraper. Place wedges onto a parchment lined baking sheet and brush with remaining 1 tbsp cream and sprinkle with sugar. I tried regular sugar and raw sugar on four each and much preferred the large crystals of the raw sugar.
6. Bake until the tops of the scones are lightly browned, 13-15 minutes. Cool on a wire rack for at least 10 minutes. Serve warm or at room temperature.


No comments:
Post a Comment